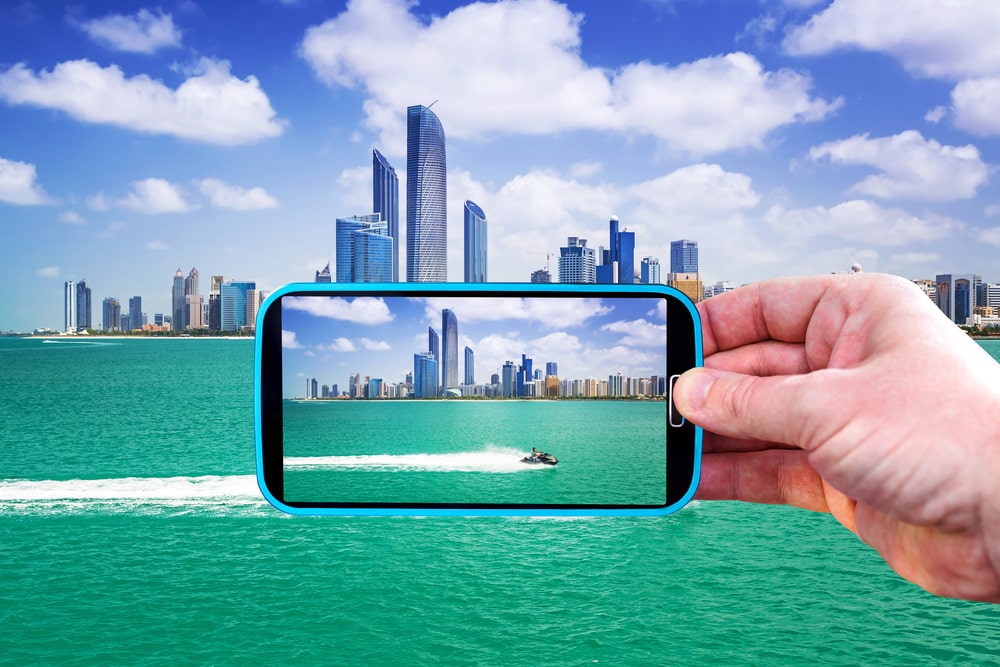
Whether you’re soaring across the waves at top speed or capturing peaceful moments on the open water, jet skiing offers countless opportunities for stunning video content. But to truly showcase your experience, knowing how to edit your footage into a compelling highlight reel makes all the difference.
If you’ve enjoyed a jet ski rental in Toronto and Lake Simcoe, here are practical tips to help you turn your raw clips into a polished reel that captures the thrill — and keeps your audience watching to the very end.
🎥 1. Capture the Right Footage First
The editing process begins with smart shooting. Use a GoPro, drone, or waterproof smartphone to capture dynamic angles:
-
POV footage from your handlebars
-
Side shots of spray and motion
-
Wide-angle views of Lake Simcoe’s shoreline or Toronto’s skyline
-
Slow-motion splashes or turns
-
Drone clips for an aerial perspective
When renting a jet ski in Toronto and Lake Simcoe, ask if the rental service offers mounts or gear for action cameras — it’ll save you setup time and help ensure stability.
✂️ 2. Sort and Trim Your Best Clips
Once off the water, import all your footage into your editing software (such as iMovie, Adobe Premiere Rush, CapCut, or Final Cut Pro). Then:
-
Trim clips down to just the most exciting or visually stunning moments
-
Look for clean transitions — a splash, camera whip, or movement in the same direction makes transitions seamless
-
Don’t be afraid to cut tight — viewers online have short attention spans
A 30- to 60-second highlight reel is perfect for Instagram Reels, TikTok, and YouTube Shorts.
🎵 3. Choose a Soundtrack That Matches the Vibe
Music is half the experience. Choose upbeat, energetic tracks for high-speed rides or chilled music for sunset glides.
Use royalty-free music from:
-
Epidemic Sound
-
Artlist
-
YouTube Audio Library
-
Or trending audio if posting on social media platforms
Match your clip cuts to the beat of the music for a pro-level feel.
🌟 4. Add Simple Effects & Titles
-
Use text overlays to add context: “Toronto Harbour, Summer 2024” or “Sunset Ride – Lake Simcoe”
-
Apply subtle color correction to enhance water blues and sky highlights
-
Add slow motion or hyperlapse effects for variety
-
Consider a short intro/outro with your name or logo (if you’re building a brand)
Keep it clean — the goal is cinematic excitement, not over-editing.
🧠 5. Tell a Story (Even in 30 Seconds)
Your highlight reel should follow a mini-narrative. For example:
-
Launch: Starting the engine or leaving the dock
-
Climax: Fast-paced riding, turns, jumps, or beautiful landscapes
-
Closing: Slowing down, parking the jet ski, or a sunset shot
Even if it’s just for fun, a bit of structure keeps viewers engaged from start to finish.
🚤 6. Optimize for Sharing
Once your reel is ready:
-
Upload in high resolution (1080p minimum)
-
Add engaging captions and relevant hashtags (e.g. #JetSkiToronto, #LakeSimcoeViews)
-
Geotag the location for more local visibility
-
Consider linking back to jet ski rental in Toronto and Lake Simcoe providers for added value or collaboration
📲 Bonus: Tools for Mobile Editing
If you’re editing on the go, these apps make it easy:
-
CapCut (free, TikTok friendly)
-
InShot (great for Instagram)
-
LumaFusion (pro features on iOS)
-
VN Video Editor (easy and powerful)
Final Thoughts
A great highlight reel can make your jet ski memories last — and inspire others to try it too. Whether you’re racing past the Toronto Islands or enjoying the vast waters of Lake Simcoe, capturing and editing the best moments transforms your adventure into shareable content.
So next time you’re out for a jet ski rental in Toronto and Lake Simcoe, don’t just ride — record, edit, and create a reel that makes waves online.

